在过去的几年,不论是面向内部的系统,还是面向外部的产品,我们都大量地使用了 [Ant.Design](http://ant.design) —— 一个基于 React 的 UI 组件库。
在做内部系统时,Ant.Design 解决了几乎 60% 的问题。剩下的问题在业务逻辑和代码组织的复杂度。我见过很多内部系统因为滥用状态管理而使代码变得复杂,他们之所以使用状态管理库,并不是因为应用的状态复杂,而是因为需要一个状态树来管理网络请求的状态、接口返回的数据等等这些和接口相关的状态。
真的需要状态管理库吗?在之前,我没有信心回答这个问题。但在使用了 [GraphQL](https://graphql.org) ([Apollo](https://apollographql.com)) 后,我确信,在大多数场景,你不再需要状态管理。
这篇文章的目标就是让你认识 GraphQL / Apollo, 以及在 Ant.Design 里如何高效地使用他。你不必担心 GraphQL 会给你带来负担,学习和使用 GraphQL 都是令人愉快的过程。你会发现以往让你感到厌烦的需要重复编写的逻辑,可以不必再写了。
> _Keep frontend code lean and straight._
>
> —— Randy Lu
> 本文的前端代码在 CodeSandbox https://codesandbox.io/s/pwmrnjz2km
> 本文使用大量 ES6+ 特性,请在阅读本文前熟悉 ES6+ 语法。
## 什么是 GraphQL
[GraphQL](https://graphql.org) 是一个查询语言,和 SQL 是同等概念的。
举个例子,在 RESTful 的场景里,我们查询一个资源是通过命令式地进行网络请求:
```js
const posts = await fetch('/api/v1/posts')
```
而使用 GraphQL, 是声明式地查询:
```gql
query {
posts {
title, body, id
}
}
```
写数据时,命令式地 POST:
```js
const response = await fetch('/api/v1/posts', { method: 'POST', body: { title: "foo", body: "content" } } )
```
使用 GraphQL, 声明式地触发 mutation:
```gql
mutation {
createPost(post: { title: "foo", body: "content" })
}
```
你也许会疑惑,这些 GraphQL 语句怎么执行?其实这些语句需要被转换,而转换的工具就是接下来要介绍的 Apollo.
## 什么是 Apollo
[Apollo](https://apollographql.com) 是一系列的 GraphQL 工具链,从客户端(不同的前端框架)到服务器端都提供了使用和搭建 GraphQL 的工具。
下面会通过一个简单的例子,让你从前端到服务器端对 GraphQL 有个初步的了解。
想象有这样一个需求:用表格展示一组数据。
后端告诉你,有如下接口:
- https://jsonplaceholder.typicode.com/posts
这个接口可以获取所有 `Post`, 返回的格式如下:
```ts
interface Post {
userId: number,
id: number,
title: string,
body: string
}
```
第一步我们需要搭建一个 GraphQL 服务器。
### 搭建一个 GraphQL 服务器
搭建一个 GraphQL 服务器不难,Apollo Server 对主流的 Node.js Web 框架都有封装,本文不赘述如何搭建一个 GraphQL 服务器,只介绍 GraphQL 后端编写的一些概念。
用 Apollo Server 编写 GraphQL 服务器有两个主要概念,`typeDefs` 和 `resolvers`.
`typeDefs` 指的是类型定义。GraphQL 是一个有类型系统的查询语言,因此在编写 GraphQL 服务时,要先对查询的数据类型进行定义。
我们已经知道 `Post` 的数据类型是怎样的,就可以编写 `Post` 的类型定义:
```js
import gql from 'graphql-tag'
const typeDefs = gql`
type Post {
userId: Int!
id: Int!
title: String!
body: String!
}
`
```
另外,我们需要对 `Query` 进行定义,来定义有哪些查询操作:
```diff
import gql from 'graphql-tag'
const typeDefs = gql`
type Post {
userId: Int!
id: Int!
title: String!
body: String!
}
+ type Query {
+ posts: [Post]
+ }
`
```
> 在 [官方文档](https://graphql.org/learn/schema/) 详细了解 GraphQL 的类型系统。
这样一来,外界就可以通过
```js
query {
posts {
id, title
}
}
```
这样的查询语句查询到 `posts` 了。
光是类型定义还不够,因为服务器还不知道「查询 posts」这个操作到底应该做什么。这里就是 `resolvers` 要做的事了。在 `resolvers` 里定义查询的实际行为:
```js
const resolvers = {
Query: {
async posts() {
const res = await fetch('https://jsonplaceholder.typicode.com/posts')
return res.json()
}
}
}
```
> 在 [官方文档](https://www.apollographql.com/docs/apollo-server/v2/essentials/data.html) 详细了解 `resolvers` 的用法。
最后,通过 Apollo Server 把 `typeDefs` 和 `resolvers` 连起来,一个 GraphQL 服务器就成功搭起来了。
```js
const server = new ApolloServer({ typeDefs, resolvers })
server.listen().then(({ url }) => {
console.log(`Ready at ${url}`)
})
```
> 我在本文用到的 GraphQL 服务器源码在 https://github.com/djyde/graphql-jsonplaceholder , 通过 https://graphql-jsonplaceholder.now.sh 可以访问 Playground.
> 你也可以通过 [Apollo Launchpad](https://launchpad.graphql.com/) 在线上快速搭建一个测试用的 GraphQL 服务.
### 最简单的前端查询
有了 GraphQL 服务后,我们开始编写前端组件。首先要创建一个 `ApolloClient` 实例。最简单的方法是通过 `apollo-boost`:
```ts
import ApolloClient from "apollo-boost";
const apolloClient = new ApolloClient({
// GraphQL 服务器地址
uri: "https://graphql-jsonplaceholder.now.sh"
});
```
`ApolloClient` 可以命令式地进行查询:
```js
const result = await apolloClient.query({
query: gql`
query {
posts {
id, title, body
}
}
`
})
```
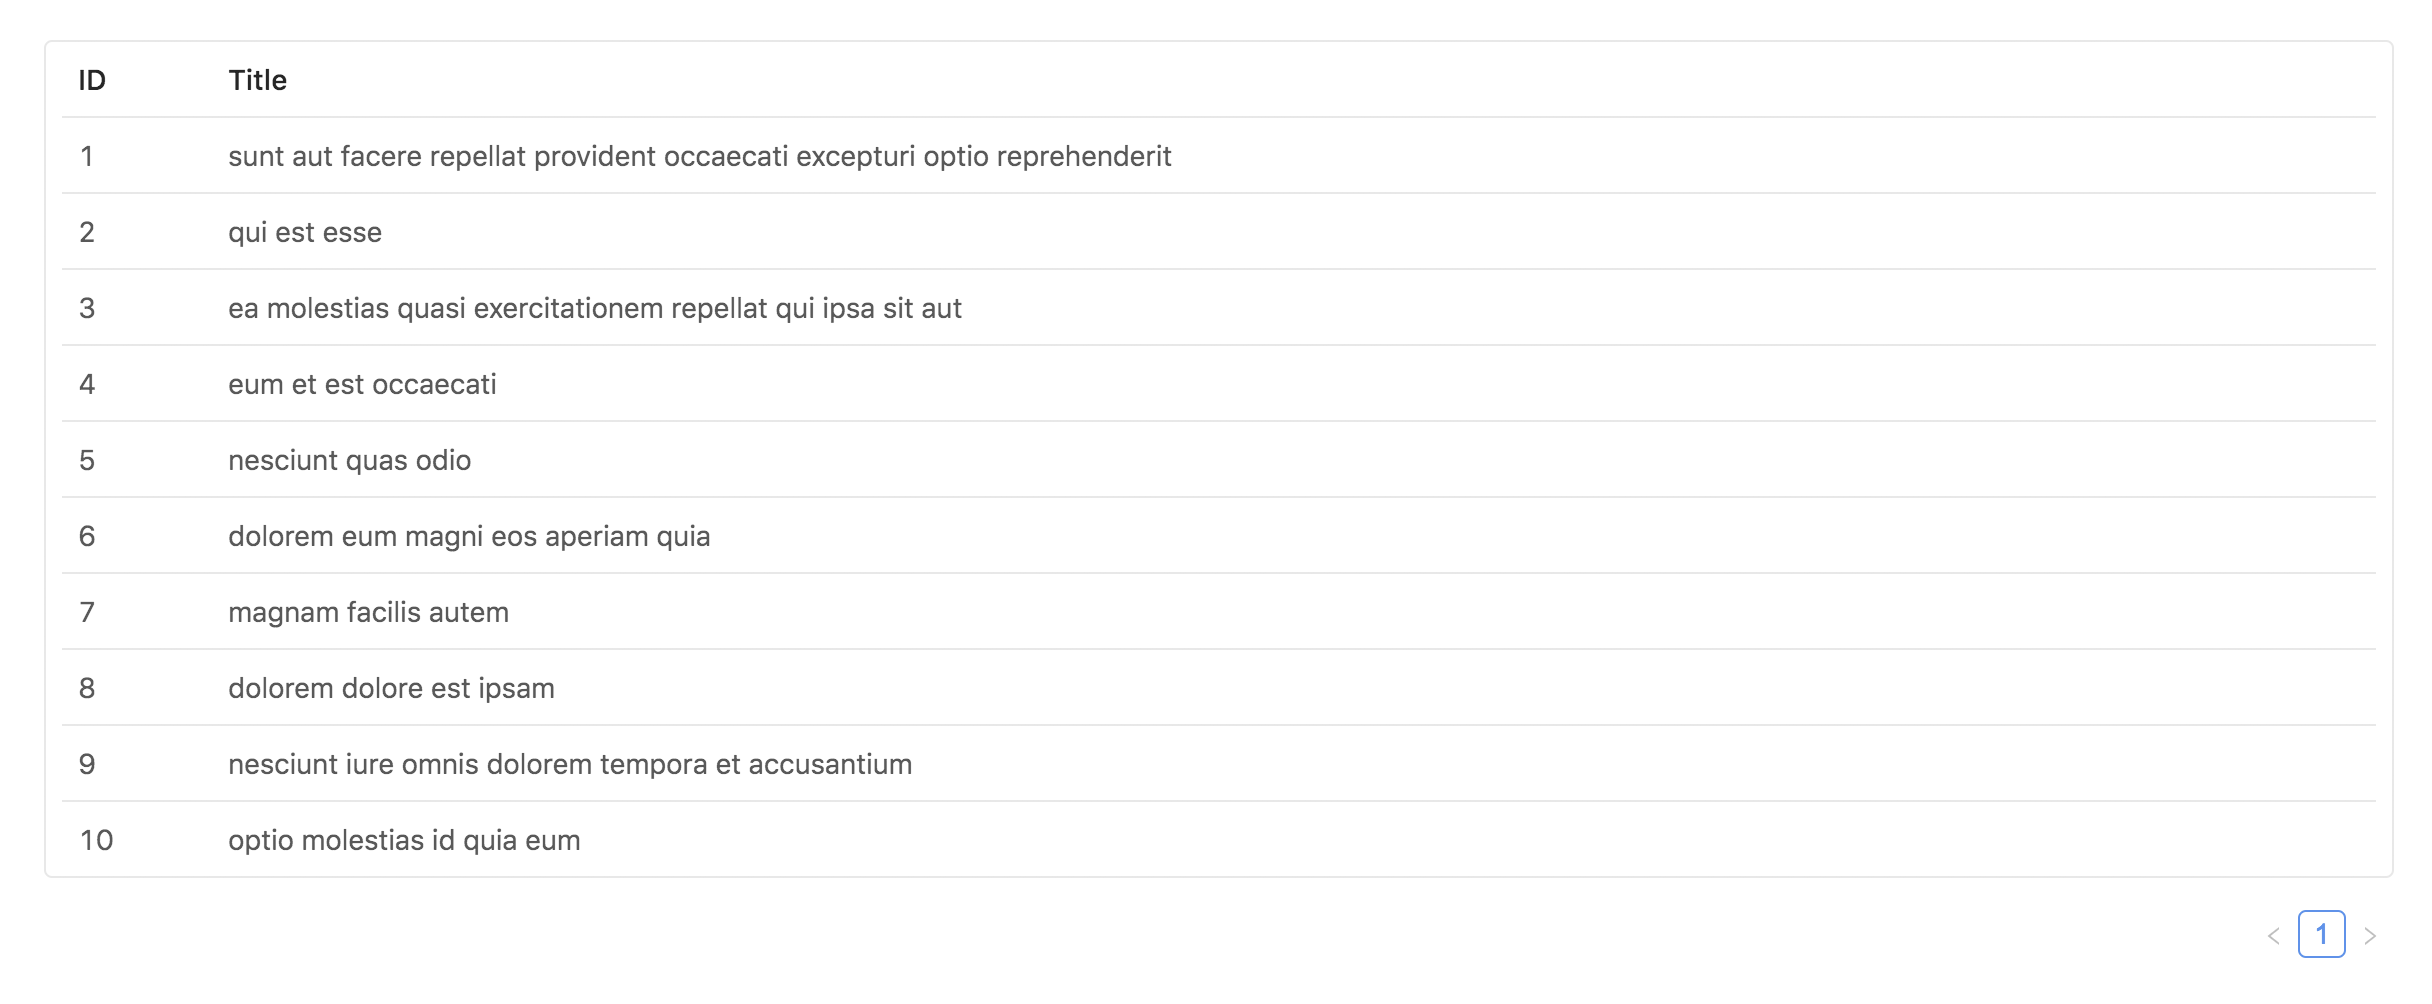
不过,更高效的做法是用 `` 和 `` 组件进行声明式的查询。因为它们用了 [Function as Child Components
](https://medium.com/merrickchristensen/function-as-child-components-5f3920a9ace9) 的模式,把 `loading` 状态,返回的数据 `data` 都通过参数传递。**你不需要手动去管理请求的状态**。
```js
import { Query, ApolloProvider } from 'react-apollo'
import gql from 'graphql-tag'
import { Table } from 'antd'
const GET_POSTS = gql`
query GetPosts {
posts {
id, title
}
}
`
const App = () => {
return (
{({ loading, data }) => {
const columns = [
{
title: "ID",
dataIndex: "id"
},
{ title: "Title", dataIndex: "title" }
]
const dataSource = data.posts || []
return (
);
}}
)
}
export default () => {
return (
)
}
```
[](https://codesandbox.io/s/pwmrnjz2km?initialpath=%2Ftable&module=%2Fchapters%2FTable%2Findex.tsx)
> `` 的作用是向所有子组件里的 `` 和 `` 传递 `ApolloClient` 实例.
## 进阶实例
### 查询参数
我们希望通过一个下拉框 `` 选择需要获取的 Post 数量:

我们可以让 `posts` 查询接受一个 `limit` 参数:
```diff
import gql from 'graphql-tag'
const typeDefs = gql`
type Post {
userId: Int!
id: Int!
title: String!
body: String!
}
type Query {
+ posts(limit: Int): [Post]
}
`
```
然后在 `resolvers` 里拿到参数,进行处理:
```js
const resolvers = {
Query: {
async posts(root, args) {
// 每个 resolver 的第二个参数就是查询参数
const { limit } = args
const res = await axios.get('https://jsonplaceholder.typicode.com/posts', {
params: {
_limit: limit
}
})
return res.json()
}
}
}
```
在前端,`` 的 `variables` props 可以传递参数:
```js
import * as React from "react";
import { Table, Select } from "antd";
import { Query } from "react-apollo";
import gql from "graphql-tag";
const GET_POSTS = gql`
query GetPosts($limit: Int) {
posts(limit: $limit) {
id, title
}
}
`
export default class Limit extends React.Component {
state = {
limit: 5
};
onChangeLimit = limit => {
this.setState({ limit });
};
render() {
return (
{({ loading, data }) => {
const columns = [
{
title: "ID",
dataIndex: "id"
},
{ title: "Title", dataIndex: "title" }
];
const dataSource = data.posts || [];
return (
record.id}
size="small"
loading={loading}
dataSource={dataSource}
columns={columns}
/>
);
}}
);
}
}
```
[](https://codesandbox.io/s/pwmrnjz2km?initialpath=%2Ftable%2Flimit&module=%2Fchapters%2FTable%2Flimit.tsx)
> 在 [官方文档](https://graphql.org/learn/queries/#variables) 详细了解 GraphQL 查询变量定义
### 操作数据 (Mutation)
接下来实现创建一篇 Post:

当我们需要操作数据的时候,就要用到 `Mutation`. 还用到一个特殊的数据类型 [Input](https://graphql.org/learn/schema/#input-types). 通常用来在 `Mutation` 的参数里传一整个对象。
```js
const typeDefs = gql`
input CreatePostInput {
title: String!
body: String!
}
Mutation {
createPost(post: CreatePostInput!): Post!
}
`
```
然后在为 `createPost` 这个 `mutation` 创建一个 `resolver`:
```js
const resolvers = {
Mutation: {
async createPost(root, args) {
const {
post
} = args
const res = await http.post('/posts', {
data: post
})
const now = Date.now()
const id = Number(now.toString().slice(8, 13))
return {
...res.data.data,
id,
userId: 12
}
}
}
}
```
前端结合 Ant.Design 的 ``, `` 组件和 `react-apollo` 提供的 `` 组件,就可以完成整个「新建 Post」动作:
```js
const GET_POSTS = gql`
query GetPost($limit: Int) {
posts(limit: $limit) {
id, title
}
}
`;
// 「新建 Post」 的 Muation
const CREATE_POST = gql`
mutation CreatePost($post: CreatePostInput!) {
createPost(post: $post) {
id, title
}
}
`
class CreatePost extends React.Component {
state = {
modalVisible: false
};
showModal = () => {
this.setState({ modalVisible: true });
};
closeModal = () => {
this.setState({ modalVisible: false });
};
// Modal 的 onOk 事件
onCreatePost = createPost => {
const { form } = this.props;
form.validateFields(async (err, values) => {
if (!err) {
// `createPost` 是 `` 组件传给 children 的 mutation 方法
await createPost({ variables: { post: values } });
this.closeModal();
form.resetFields();
}
});
};
render() {
const { form } = this.props;
return (
{({ loading, data }) => {
const columns = [
{
title: "ID",
dataIndex: "id"
},
{ title: "Title", dataIndex: "title" }
];
const dataSource = data.posts || [];
return (
{(createPost, { loading, data }) => {
return (
this.onCreatePost(createPost)}
onCancel={this.closeModal}
title="Create Post"
confirmLoading={loading}
visible={this.state.modalVisible}
>
);
}}
record.id}
size="small"
loading={loading}
dataSource={dataSource}
columns={columns}
/>
);
}}
);
}
}
export default Form.create()(CreatePost);
```
和 `` 一样,`` 把请求状态都传递给了 children.
[](https://codesandbox.io/s/pwmrnjz2km?initialpath=%2Ftable%2Fcreate&module=%2Fchapters%2FTable%2Fcreate.tsx)
> 在 [官方文档](https://www.apollographql.com/docs/react/essentials/mutations.html) 详细了解 `` 的用法
### 操作成功后更新列表数据
成功「新建 Post」以后,通常我们会更新数据列表。`react-apollo` 有两种方法实现。
#### 更新查询的 Cache
`` 有 `update` 这个 props. 在 `mutation` 执行成功后回调,并且带有 `cache` 和 `mutation` 的响应数据。我们可以通过更新 `cache` 来实现更新数据列表。
例如,在获取数据列表的 `` 中,是通过 `GET_POSTS` 来查询的:
```js
query={GET_POSTS} variables={{ limit: 5 }}
```
那么,在 `update` 回调里,我们可以得到 `GET_POSTS` 对应的 cache, 然后更新这个 cache. 更新 cache 后,通过 `GET_POSTS` (以及相同的 `variables`) 查询的组件,会自动 rerender:
```ts
const update = (cache, { data: { createPost } }) => {
// 取得 `GET_POSTS` 对应的 cache
// 注意要和你要更新的组件的 query 和 variables 都要一致
const { posts } = cache.readQuery({ query: GET_POSTS, variables: { limit: 5 } })
// 用 mutation 的响应数据更新 cache
// 同样,query 和 variables 都要一致
cache.writeQuery({
query, GET_POSTS,
variables: { limit: 5 },
data: { posts: [createPost].concat(posts) }
})
}
```
#### 重新执行查询
有时我们想要直接重新请求数据列表而不是手动更新 cache. 我们可以使用 `refetchQueries` 返回一个你要重新查询的查询数组:
```js
const refetch = () => {
return [
{ query: GET_POSTS }
]
}
```
这样,所有 query 是 `GET_POSTS` 的组件都会重新执行查询并 rerender.
### 分页异步加载
Ant.Design 的 `Table` 组件可以通过 `Pagination` 很容易地实现[分页异步加载](https://ant.design/components/table-cn/#components-table-demo-ajax).

首先先让 GraphQL 接口支持分页:
```diff
const typeDefs = gql`
type Post {
userId: Int!
id: Int!
title: String!
body: String!
}
+ type Meta {
+ total: Int!
+ }
+ type PostResultWithMeta {
+ metadata: Meta!
+ data: [Post]!
+ }
type Query {
posts(page: Int, limit: Int): [Post]
+ postsWithMeta(page: Int, limit: Int!): PostResultWithMeta!
}
`
```
```diff
const resolvers = {
Query: {
async postsWithMeta(root, args) {
const {
page, limit
} = args
const res = await http.get('/posts', {
params: {
+ _page: page,
_limit: limit
}
})
return {
+ metadata: {
+ total: res.headers['x-total-count']
+ },
+ data: res.data
}
}
},
}
```
前端就可以传 `limit` 和 `page` 实现分页:
```js
const GET_POSTS = gql`
query GetPosts($limit: Int!, $page: Int) {
postsWithMeta(limit: $limit, page: $page) {
metadata {
total
},
data {
id, title
}
}
}
`;
export default class Pagination extends React.Component {
// 传给 Ant.Design Table 的 pagination 信息
state = {
pagination: {
pageSize: 10,
current: 1,
total: 0
}
};
// Query 完成后,给 pagination 设置数据总数
onCompleteQuery = ({
postsWithMeta: {
metadata: { total }
}
}) => {
const pagination = { ...this.state.pagination };
pagination.total = total;
this.setState({ pagination });
};
handleTableChange = pagination => {
const pager = { ...pagination };
pager.current = pagination.current;
this.setState({ pagination });
};
render() {
return (
{({ loading, data }) => {
const columns = [
{
title: "ID",
dataIndex: "id"
},
{ title: "Title", dataIndex: "title" }
];
const dataSource = data.postsWithMeta ? data.postsWithMeta.data : [];
return (
record.id}
size="small"
loading={loading}
dataSource={dataSource}
columns={columns}
/>
);
}}
);
}
}
```
[](https://codesandbox.io/s/pwmrnjz2km?initialpath=%2Ftable%2Fpagination&module=%2Fchapters%2FTable%2Fpagination.tsx)